
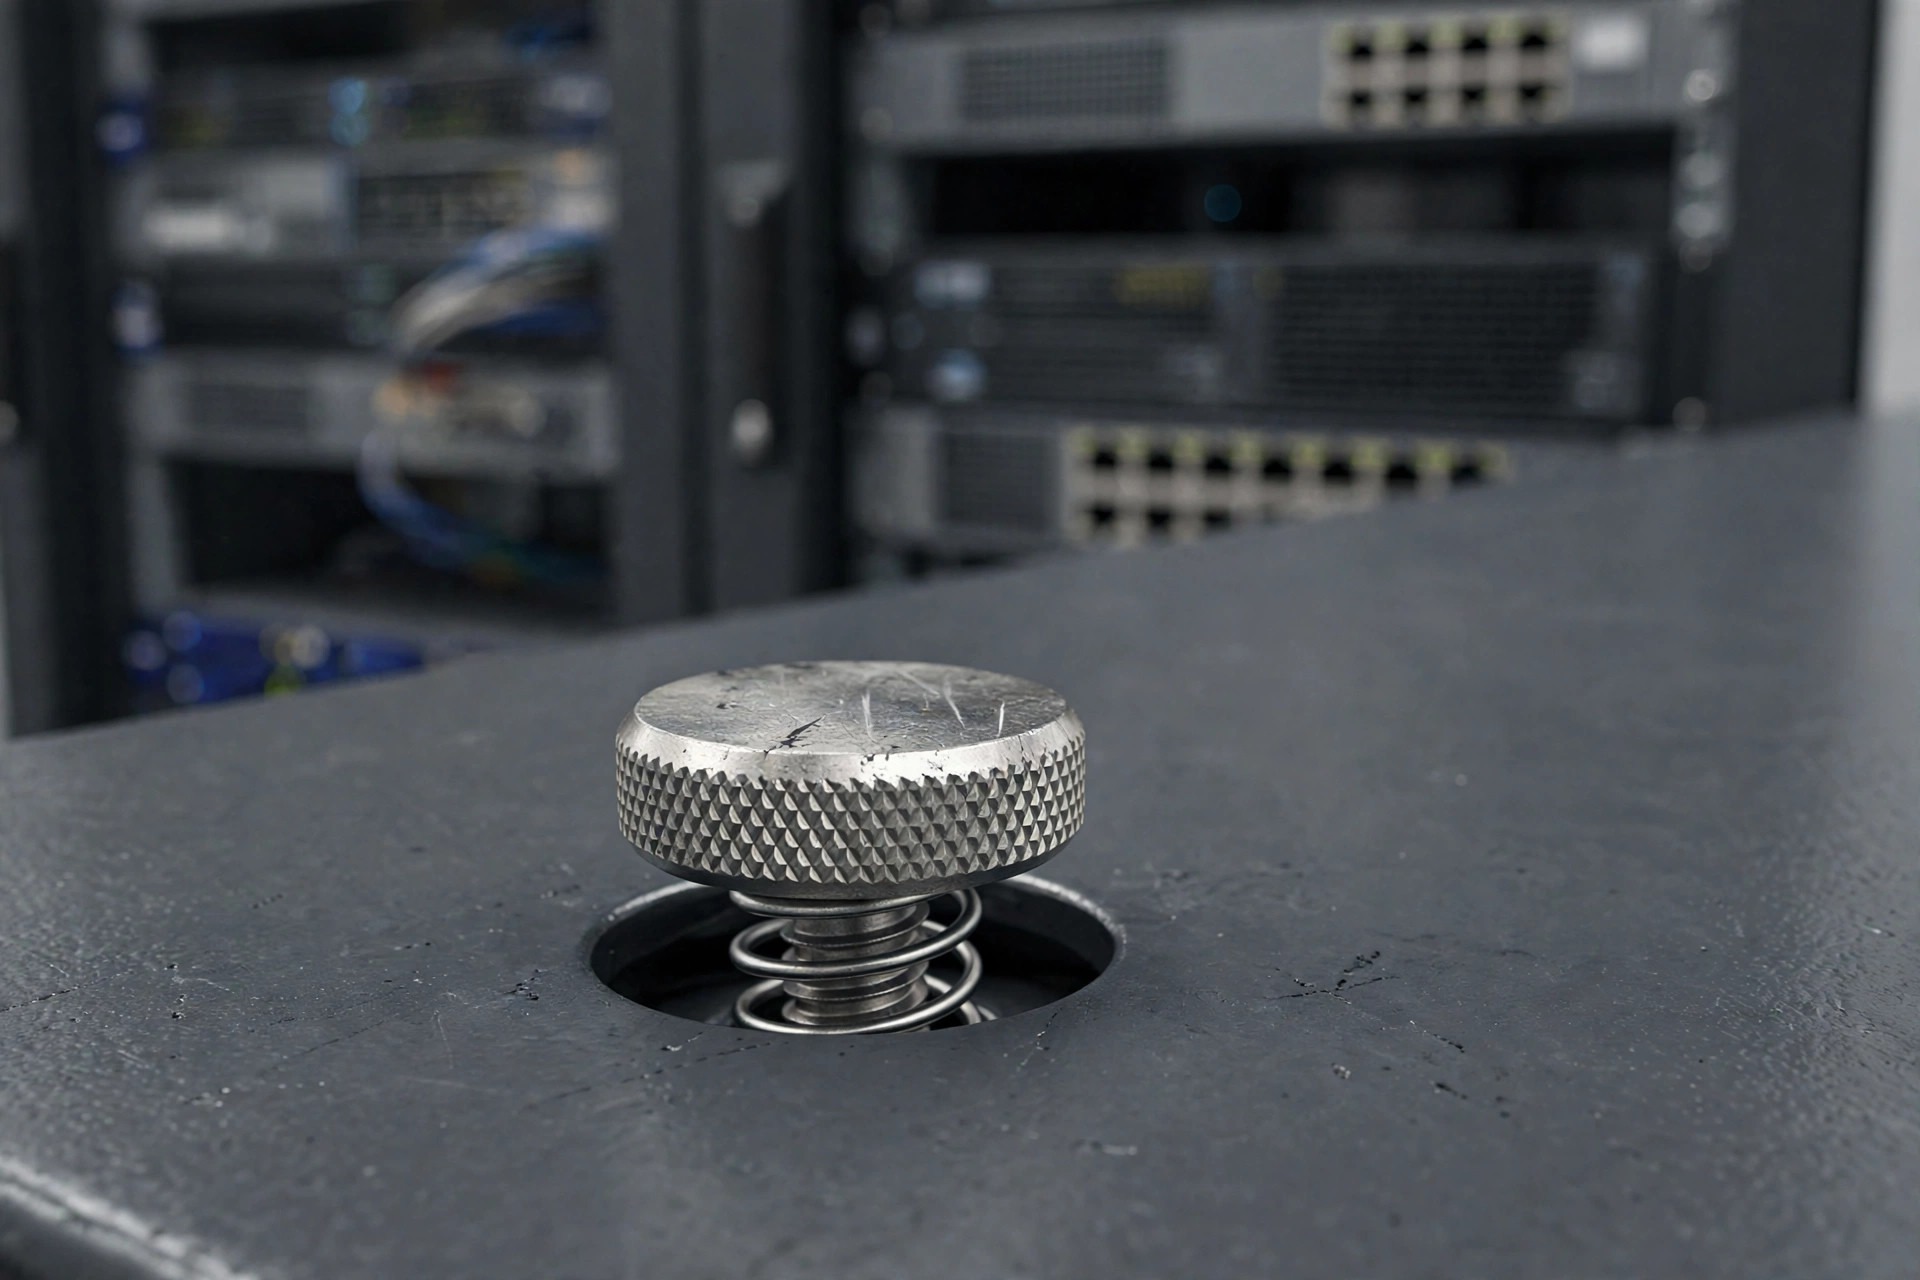
Every service technician knows the problem: you open an access panel, and a screw falls into the equipment, rolls under a rack, or disappears entirely. On a server rack or a control cabinet, a lost screw is more than an annoyance — it can short a board, jam a fan, or leave a panel held on by three screws instead of four.
Captive panel screws solve this by staying attached to the panel even when they are fully unscrewed. This guide explains how they work, the main types, and when they are worth specifying.
What Is a Captive Panel Screw?
A captive panel screw is a screw that cannot fall out of the panel it belongs to. It looks like an ordinary screw — a threaded shank, a head, a drive — but it carries a retainer: a spring, a ferrule, or a washer that is larger than the hole in the panel. The screw can slide and turn freely, but the retainer cannot pass through the hole, so the screw stays with the panel.
Unscrew it and the screw backs out of the mating thread and sits loose in its hole, still held in place. Push the panel back and tighten, and it fastens again. Nothing to hold, nothing to drop, nothing to lose.
How Captive Screws Work
The principle is simple: the screw is trapped between two diameters. The threaded shank passes through a clearance hole in the panel, and the retainer on the outside is wider than that hole. On the inside, the screw head is wider than the hole too. So the screw can move back and forth along its axis but can never come out.

There are three common retainer styles:
- Spring-loaded retainers. A spring sits between the screw head and the panel. When you unscrew, the spring pushes the screw outward, so the panel pops free and you can see at a glance that it is unfastened. These are the standard choice for access doors that are opened often.
- Press-in ferrules. A thin ferrule is pressed onto the screw shank and stays in the panel hole. The screw turns inside the ferrule. This gives a clean, low-profile fit and works well on thin sheet.
- Retaining washers. A washer is fitted on the shank after the screw passes through the panel. It is the simplest and cheapest retainer, common on light panels and covers.
The mating side needs something to thread into: a tapped hole, a clinch nut, a weld nut, or a threaded insert in the frame. A captive screw is only half of the joint — the panel carries the screw, and the frame carries the thread.
Main Types at a Glance
| Type | How it stays in | Best for |
|---|---|---|
| Spring-loaded captive screw | Spring pushes the screw out when unfastened | Access doors opened often, server racks |
| Non-spring captive screw | Ferrule or washer traps the shank | Flush panels, cost-sensitive covers |
| Knurled-head captive screw | Hand-operated head, no tool needed | Tool-free access, field service panels |
| Wing-head captive screw | Two wings for finger tightening | Panels opened by hand, quick checks |
| Tamper-resistant captive screw | Unusual drive (Torx pin, spanner) | Public or unattended equipment |
Where Captive Screws Make Sense
Captive screws pay for themselves anywhere a panel is removed more than a few times, or where a lost screw is a real risk:
- Server racks and data-centre enclosures. Doors and blanking panels come off during maintenance; a screw dropped into a live rack is a hazard.
- Control cabinets and electrical enclosures. Service is often done in cramped spaces where a dropped screw is hard to recover.
- HVAC and access panels. Filters and inspection covers are opened on a schedule, often by different people.
- Automotive and transport. Service covers above or below the vehicle, where a lost fastener can end up on the road or in the drivetrain.
- Medical and laboratory equipment. Covers are removed for cleaning and calibration; loose hardware near sensitive instruments is not acceptable.
On a panel that is fitted once and never opened again, a standard screw is cheaper and just as good. Captive screws earn their place on panels that move.
How to Specify Them
Five things to get right:
- Panel thickness. The retainer and the free length of the shank must suit the panel. Too short and the screw cannot reach the mating thread; too long and the panel rattles.
- Thread size and grip length. Match the thread to the mating nut or tapped hole, and check the grip length — the unthreaded part of the shank that sits in the panel — against the panel thickness.
- Head style and drive. Knurled or wing heads for tool-free access, Phillips or Torx where a tool is fine, tamper-resistant drives where the panel should not be opened casually.
- Material and finish. Steel is the default; stainless steel 304/316 for corrosive or outdoor environments. Plating should match the enclosure’s finish and environment.
- Mating thread. Confirm what the screw threads into on the frame side — a clinch nut or weld nut mounted in the frame is the usual answer for sheet metal enclosures.
3 Mistakes to Avoid
1. Wrong grip length. The most common error. If the screw cannot reach the mating thread when the panel is closed, the joint never fastens. Measure the assembled stack, not just the panel alone.
2. Retainer that does not suit the panel. A ferrule sized for 1.5 mm sheet will not hold in a 3 mm panel, and a washer retainer on a thin panel can work loose. Match the retainer to the actual thickness.
3. Forgetting the mating side. A captive screw needs a thread to engage. On a bare sheet edge there is nothing to tighten into — plan the clinch nut or tapped hole at the design stage, not after the panels are made.
Hele’s Captive Panel Screw Range
Hele Metal supplies captive panel screws for sheet metal enclosures, in steel and stainless steel, with spring-loaded and non-spring retainers and a choice of head styles. See the range on the Captive Panel Screws page.
If you are unsure about grip length or the retainer for your panel thickness, send us the panel details — we will confirm the right type before you order. Minimum order is 1,000 pieces. Contact us.